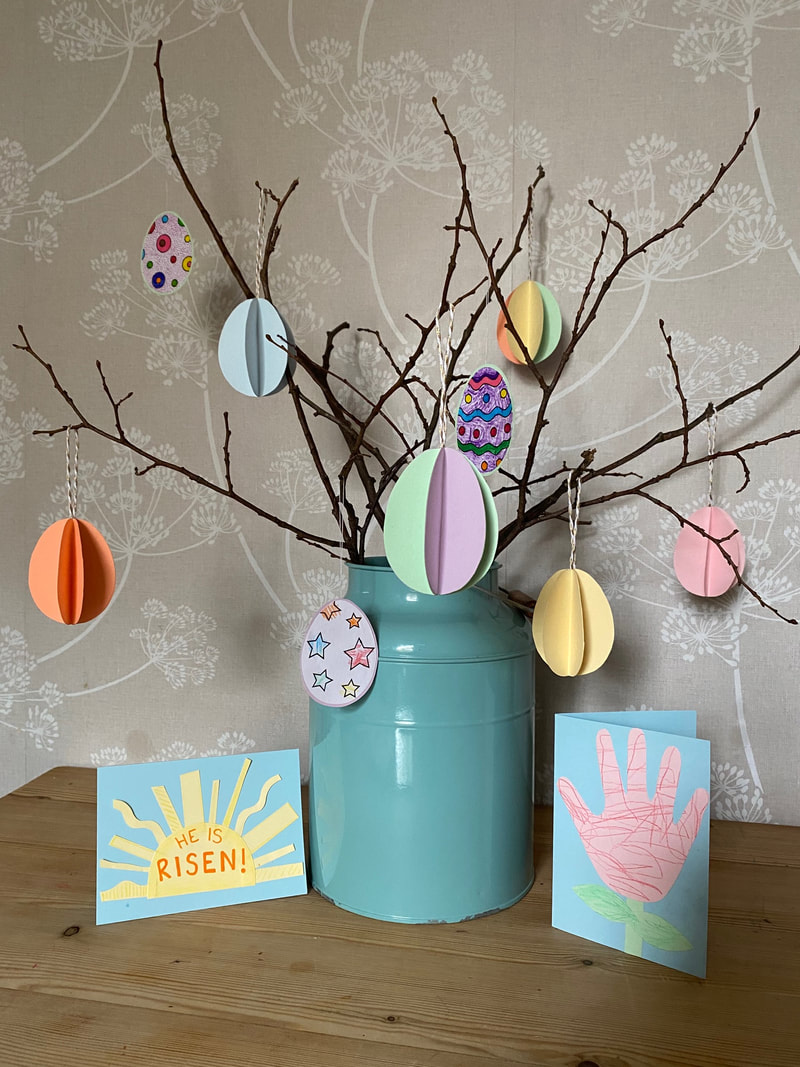
 I hope you're all enjoying the Easter holidays so far, we've spent lots of time outside as the weather's just been so gorgeous! It's been much colder today though and looks like it won't warm up again until after the weekend, so now's the perfect time to get your craft on! All you need to make these gorgeous egg decorations is the leftover coloured card and cotton thread from your Easter card craft pack, along with the scissors and glue stick.
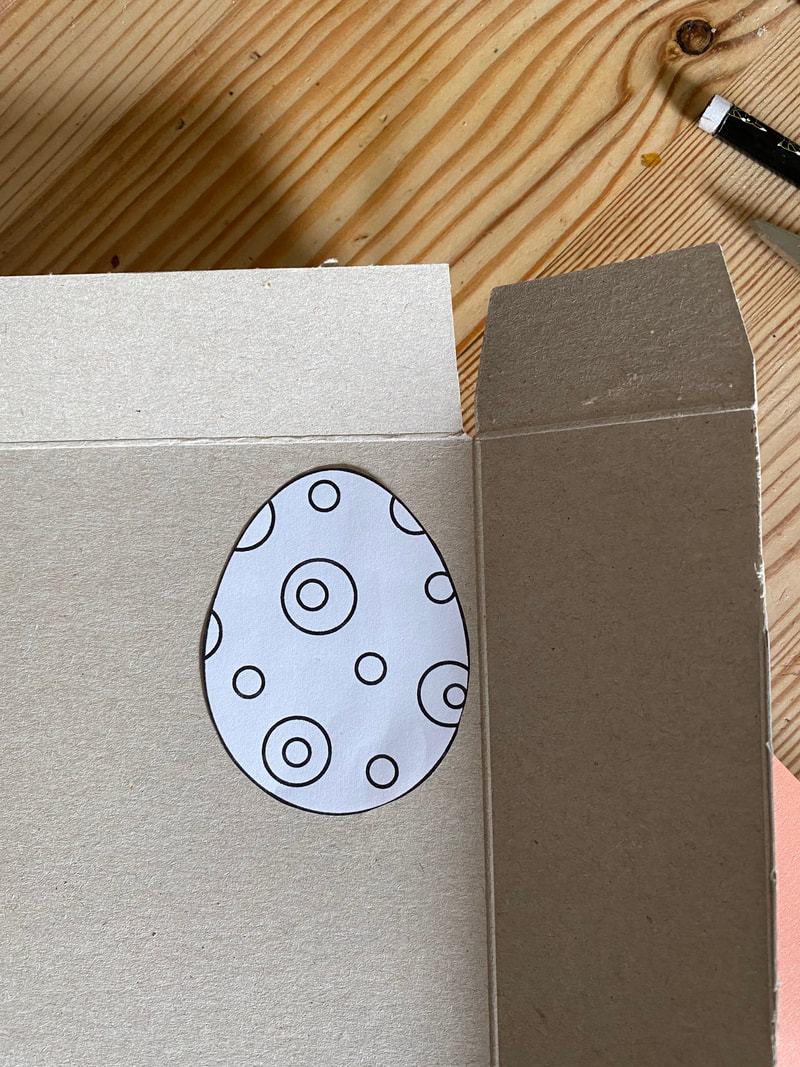
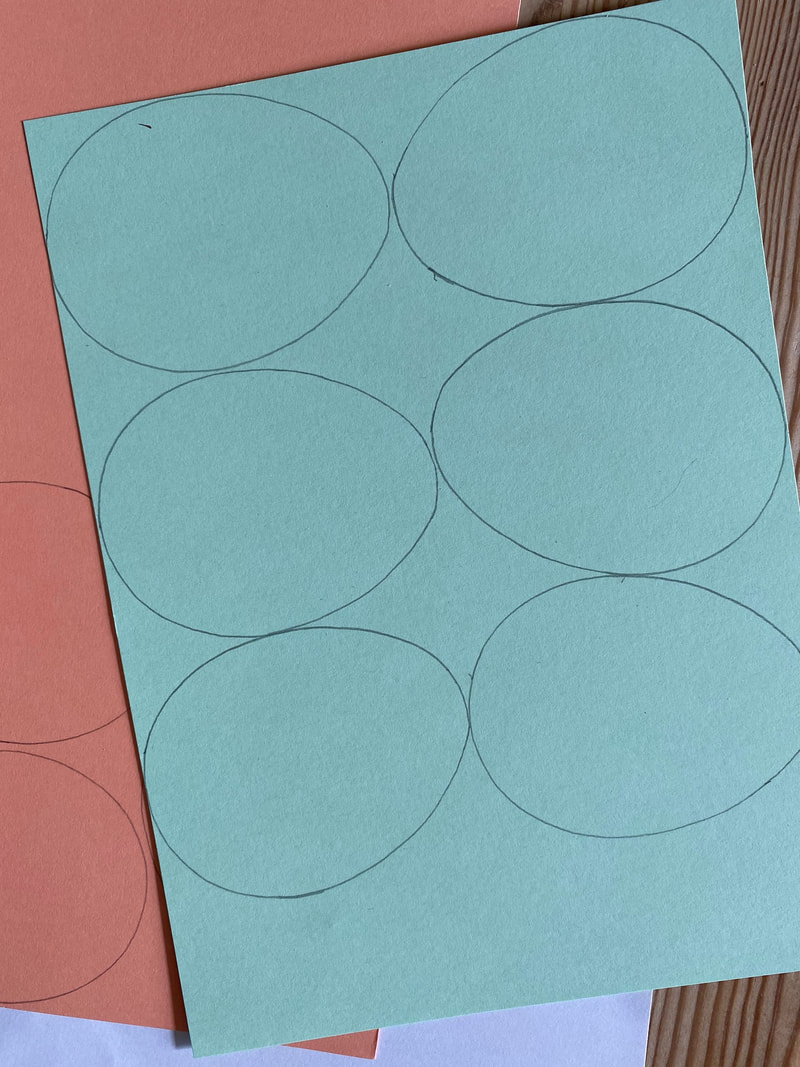
1. First things first, I used a small egg shape to make a template out of some card from a cereal box. This is optional but it definitely helps to make the next part quicker! Now draw out some egg shapes onto the coloured card. I used six egg shapes for most of my decorations, but four works too, especially if you let the kids draw some designs on them before you start sticking them together. I also made one decoration with 8 egg shapes which looks really nice.
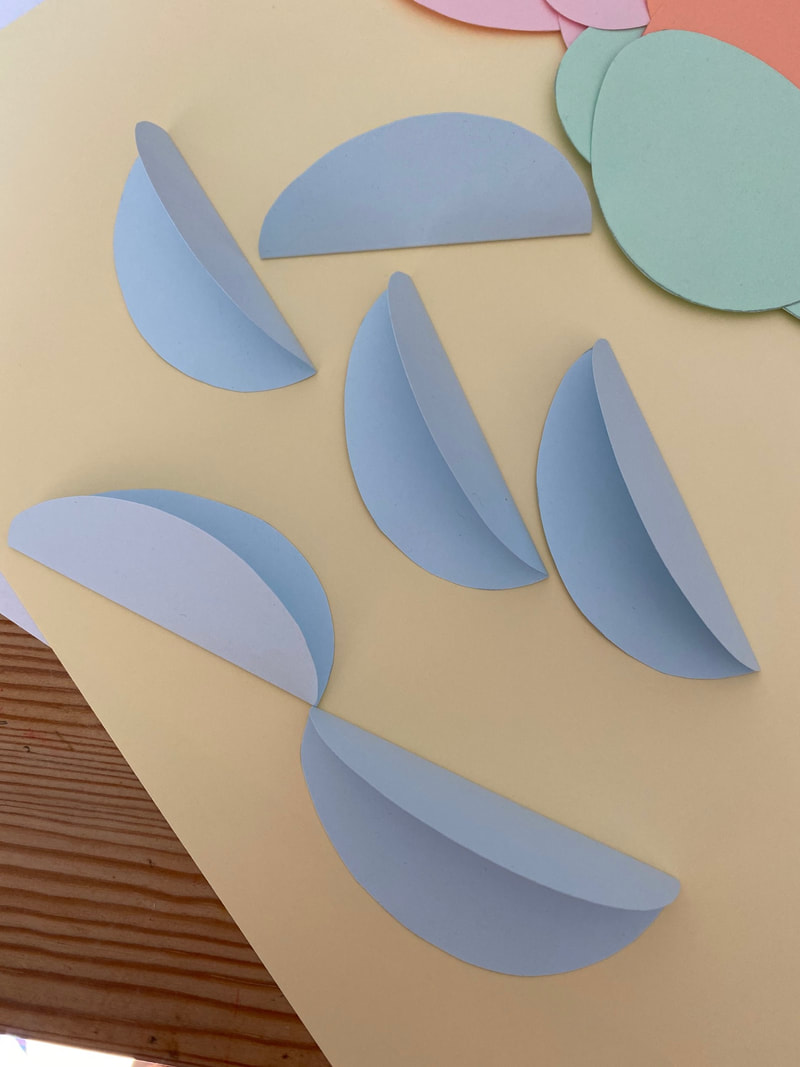
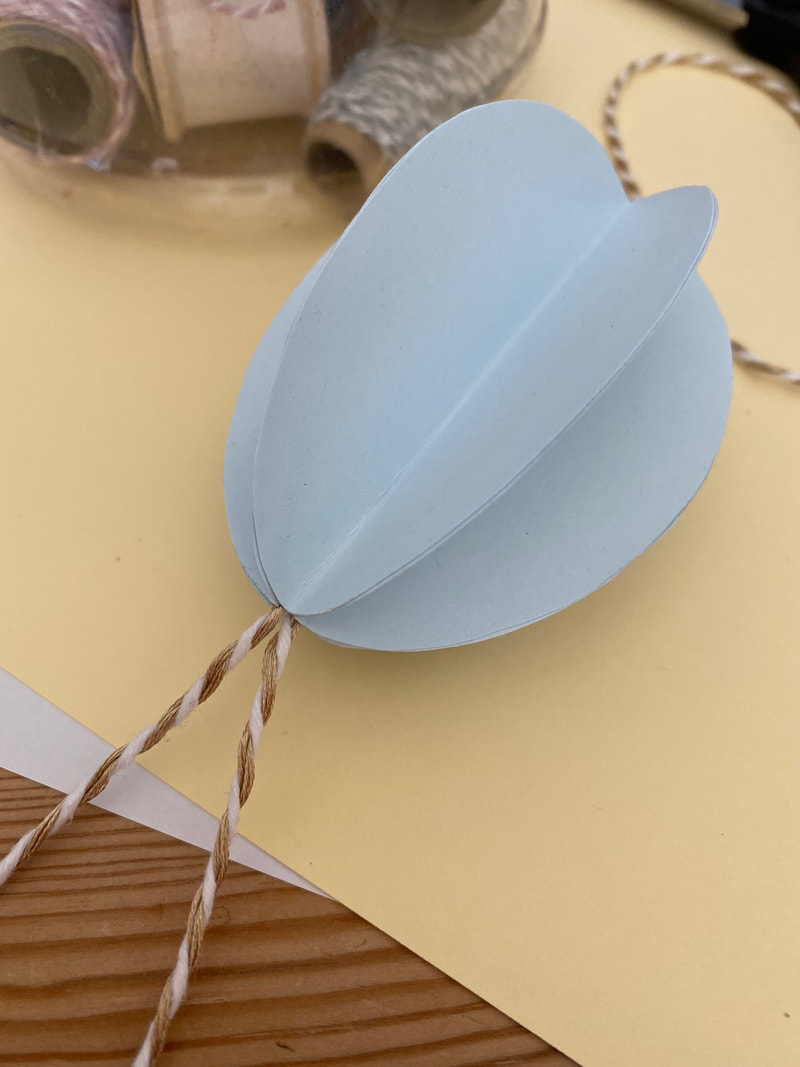
2. Fold the eggs in half lenthways. Put some glue on one side of the first piece, then stick another egg shape onto the glued surface. (Make sure it's the right way up!) Keep going until you've used all your egg shapes. Before you glue the last two sides together to complete the decoration, use a good amount of glue to stick a loop of the cotton thread into the centre, where all the folds join. I used some bakers twine for mine, but you could use string if you have some, or ribbon would make them even more colourful! Once you've done that, glue the last two sides together and you're all done.
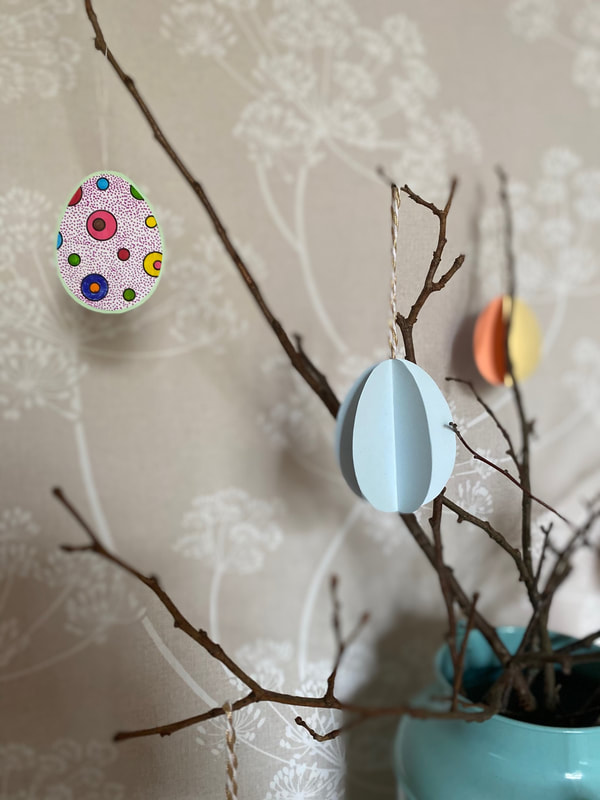
Don't they look lovely?! I LOVE crafts like this- super simple but super effective. You can mix the colours up- I did one with a mix of lilac and green, and another with one of every colour arranged in 'rainbow order' which looks really cute! I also used some card as a backing for the paper eggs that the kids coloured in.
Hope you enjoy this one and that you all have a very Happy Easter.
0 Comments
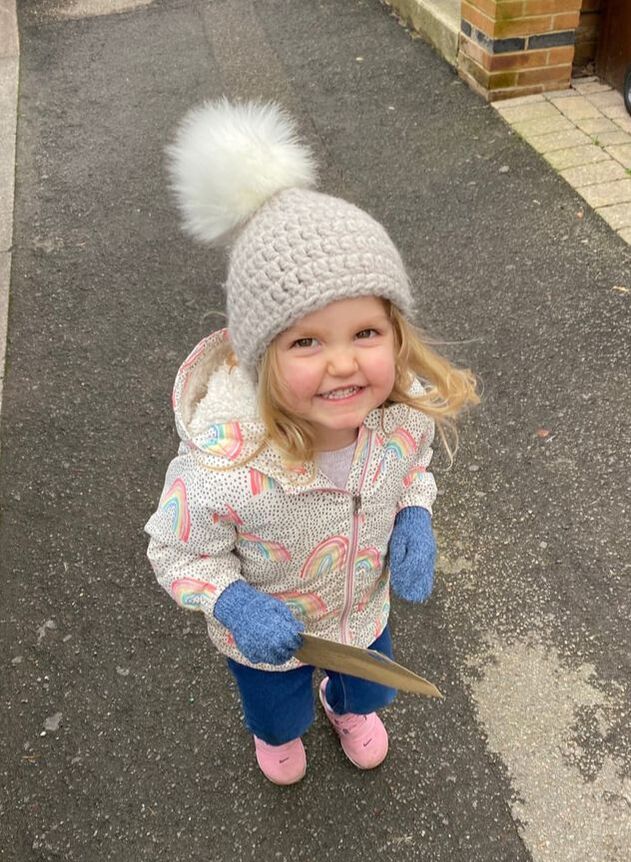 Something that Sophia loves to do is go for a walk to post a letter! We do it quite often these days. She will happily sit down with some paper and pencil crayons or felt tips, and draw a picture for someone we know- usually her grandparents or aunts/uncles etc. Now this doesn't exactly take very long- I'm not going to be able to do a sink full of washing up while she does it, but I might manage a small task or sit with a cuppa for five minutes and watch while she creates. To be honest, I normally go for the latter- there's really no contest. It is pure joy to see her in her own little imaginary world, talking to herself as she draws, or acting out the voices of the people who she's drawing. For a longer activity, but one that requires some supervision- you could get the paints or craft stuff out too. But I like that this is quite fast and feels achievable, and doesn't need lots of cleaning up afterwards. When she's completed her artwork, we pop it in an envelope, she 'writes' the address, and then I write the address too so it goes where it's supposed to! She LOVES sticking the stamp in the corner of the envelope, and eagerly grabs her coat so we can post it. She proudly carries it as we walk round to the post box, and is now tall enough to post it herself which she hugely enjoys being able to do. If you like, to make this totally free, you could pop it through the recipient's letterbox by hand if they live close-by, the excitement of posting it will be just the same! 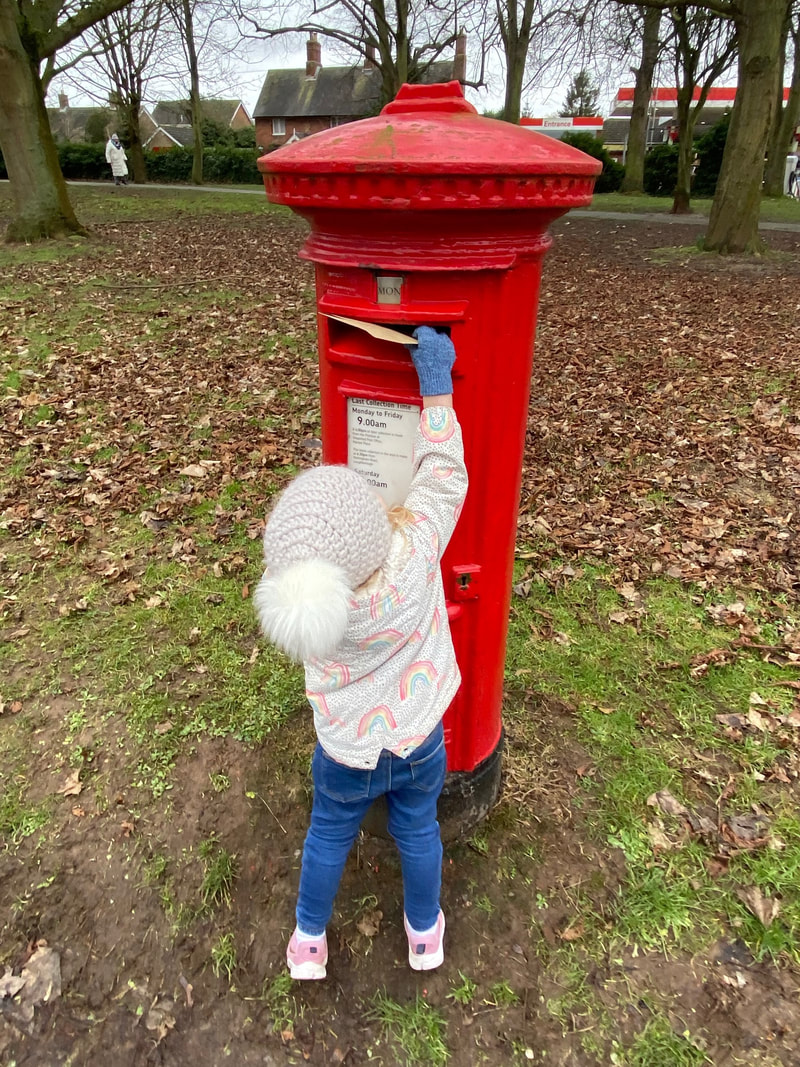 This is such a fun activity- although not one for a rainy day if your little one likes to carry the letter themselves, which they probably will! If it's more than a 30 second walk to the post box, their precious letter will probably get rather soggy. But it's a great opportunity for the kids to be creative, practice their mark making and drawing skills and burn off some energy. For us parents, it's practically free which is always good, gets us in the fresh air which is a big mood-booster, and gives us all the fuzzies, knowing what a lovely surprise it will be for the person who receives it!
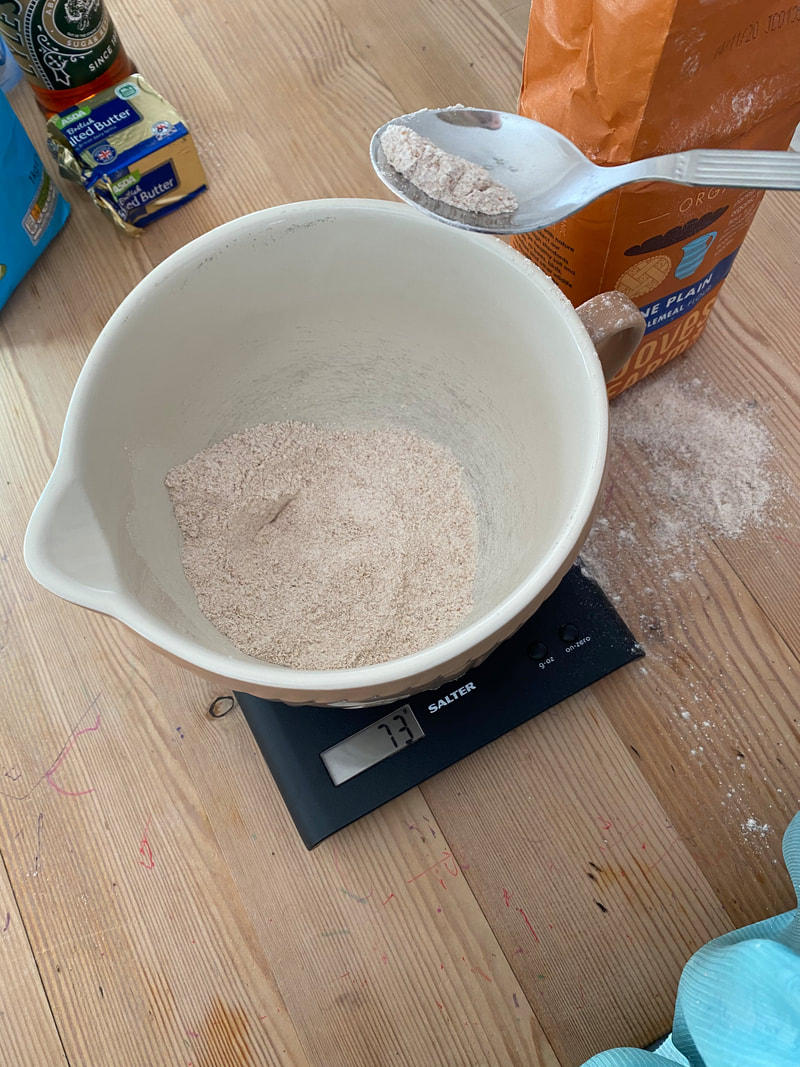
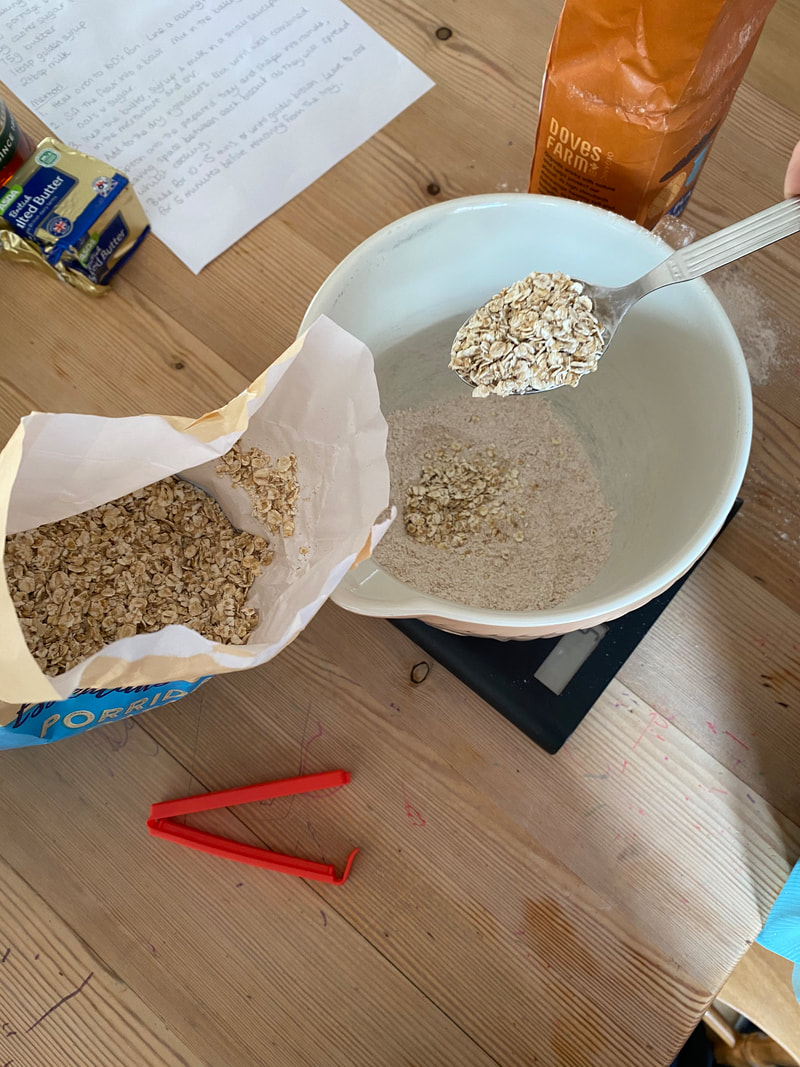
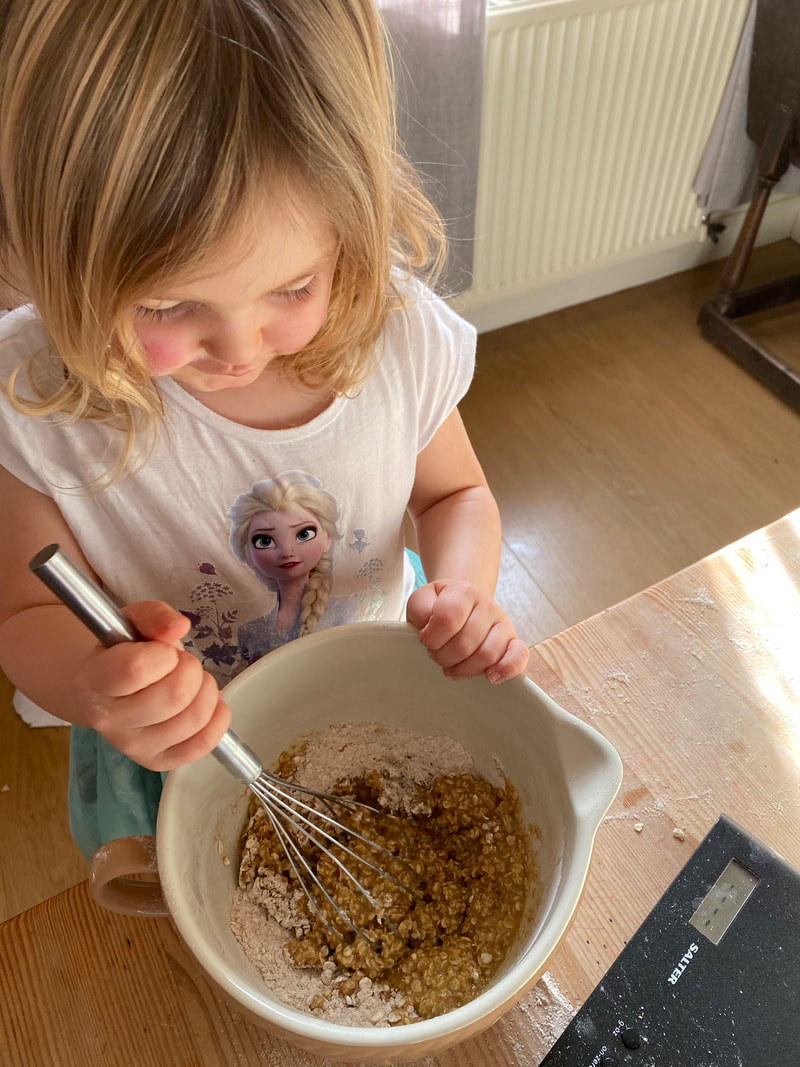
This is a really quick and simple biscuit recipe (BBC Good Food) that Sophia loved helping to make. It's pretty healthy as biscuits go because it uses wholemeal flour along with the oats and doesn't have huge amounts of sugar in it. Perfect for every day sort of biscuits and half term baking. If you don't have wholemeal flour, I'm sure plain flour would work just as well- let me know if you try it! Ingredients 75g wholemeal flour 1 tsp baking powder 75g porridge oats 50g caster sugar 75g butter 1 tbsp golden syrup 2 tbsp milk METHOD
BONUS ACTIVITY!
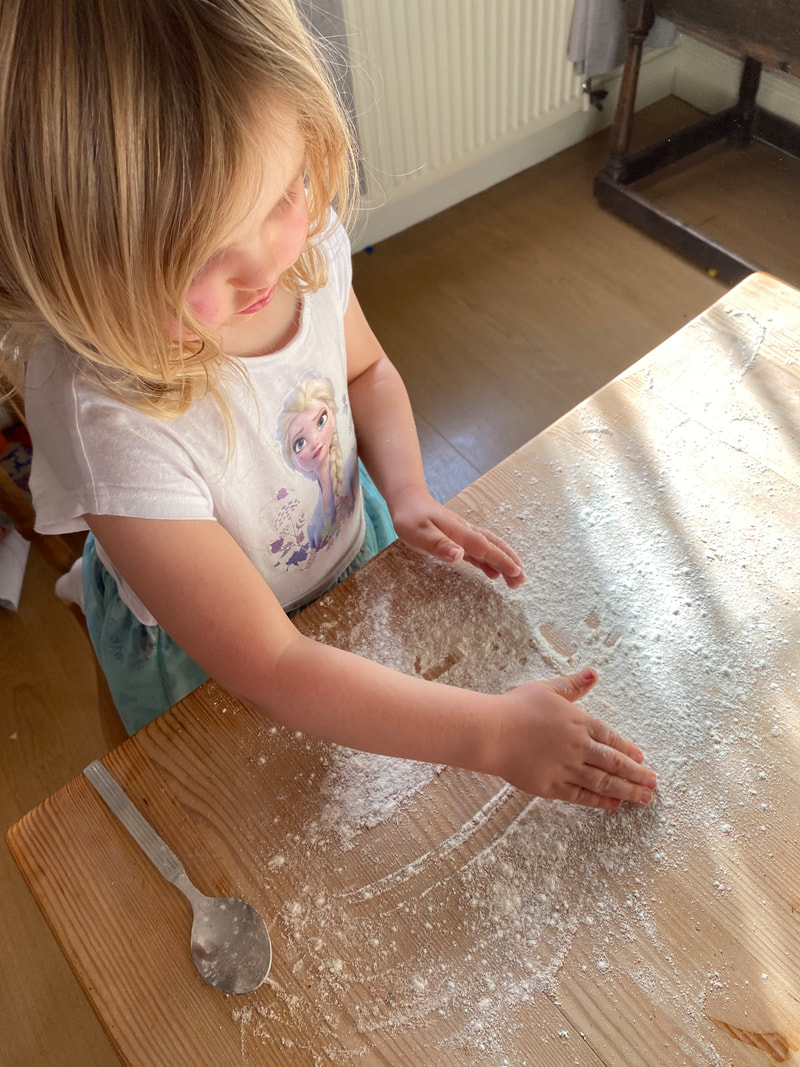
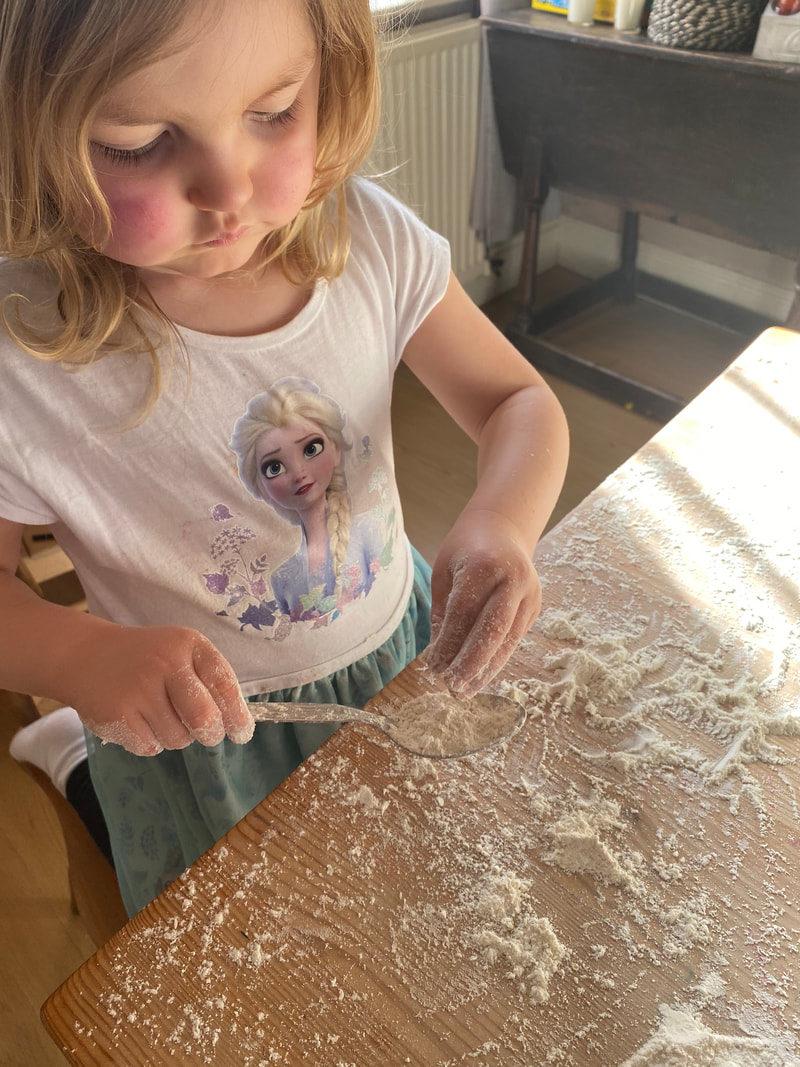
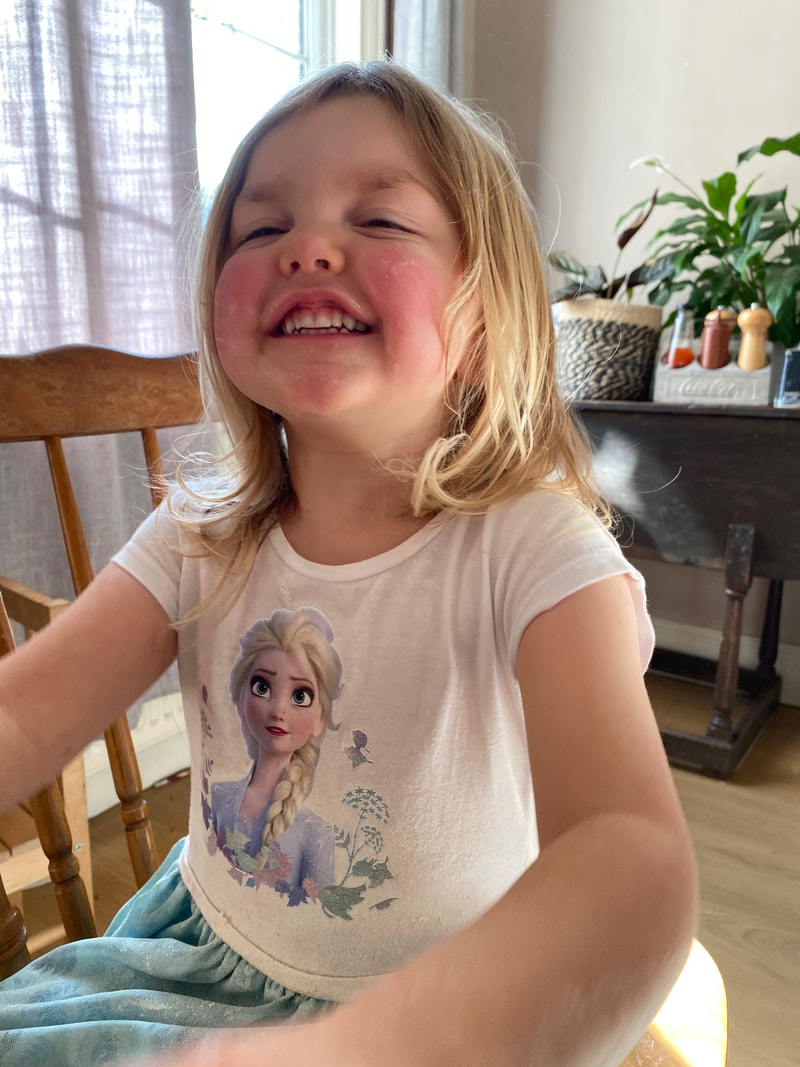
There was some flour on the table that Sophia started to play with as I was clearing up. She was pretending that it was snow and was having so much fun that I took some extra out of the bag and sprinkled it on the table for her to play with. With just the spoon that we'd been using and her imagination, this kept her busy for over 25 minutes while two batches of biscuits cooked in the oven! I think her face shows just how much she enjoyed it! Link to BBC Good Food Recipe: www.bbcgoodfood.com/recipes/oat-biscuits-0 |
AuthorHi, I'm Laura. I'm part of Open Heaven Church in Loughborough and I run our Safehaven Cafe courses along with our amazing team of volunteers. Categories
All
Archives |

 RSS Feed
